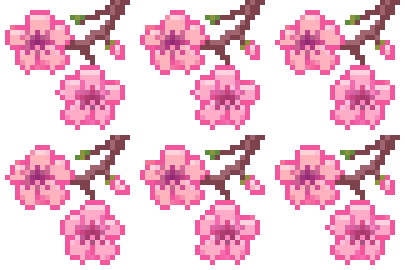
Cherry Blossoms - tutorial
Hello everyone! (:
The theme of the month is Cherry Blossoms - loved by many people! On this occasion, I would like to share the tutorial I prepared for you! The whole thing was done in Photoshop but I think you can easily repeat it in other programs and even with traditional media. Follow the steps and create your own artwork! Post your drawing on DeviantArt with the tag #CherryBlossomChallenge and get a Profile badge!
You can upload your deviation using this link: https://www.deviantart.com/submit/?tags=cherryblossomchallenge - required tag will be added automatically! (: Let's start!
I. Draw the first flower.
Start by drawing a small circle with 5 lines extending from it.
Now make a sketch of the petals of our flower. On the left side of the picture I show you how to draw it easily step by step. At this stage, it is worth focusing on the general arrangement of each element and not going into detail.
Once the sketch is ready, we can create a new layer and start to make a lineart and give our flower some character. Remember that you don't have to stick to the lines you sketched earlier. Round the angular edges, and for a better effect you can add indentations and additional lines inside the petals.
II. Time to draw more flowers! Draw each subsequent one according to the instructions from the first part. Try drawing them from a different angle, this will diversify your drawing.
Tip: When drawing digitally, you can also use the copy-paste option, but remember to change the copied elements slightly so that they are not identical.
III. Now let's draw a branch for our flowers. Start by sketching a "skeleton" - literally a few lines, one longer + a few shorter ones going to the sides (you can do it on a separate layer so that it can be easily removed). In the next step, we draw a lineart of the twig - try to outline the previously sketched lines. Lineart do not have to be even, on the contrary - slightly wavy and curved will look more realistic. Once the lineart is ready, you can remove the sketch.
IV. How about some buds? Look how you can create them in a few simple steps! It's up to you whether you decide to draw them longer, wider or just round. Different sizes are very welcome!
V. It's time for the last and probably the easiest element - the leaves. You only need two steps to draw it! It's up to you where you draw them and how many there will be.
VI. You can add a bit more details - stamens and veins on the petals and leaves. And also a few simple lines on the twig.
VII. Now let's add some color! You can use the same ones I used or choose your own!
VIII. Time for shading. Here I also provide suggestions for colors that can be used. I applied the shadows directly on the color layer, but I blocked the transparent pixels first. This is a very useful option if you want to change only what is already drawn on a specific layer.
IX. If you want you can make a rendered version now. Hide lineart, smooth edges if necessary. Refine the drawing where you think it's necessary. Add a background. At the end, you can play around with options such as "curves" or "color balance". And voilà, it's done!
I really hope you enjoy the tutorial and I'm looking forward to seeing the results of your work!
Huge thanks to DeviantArt for sponsoring!
Here is my small collection of brushes that I use most often: LINK
Brushes were downloaded from Victor Staris, Lhuin and Vesner. Thank you! <3 And also I would like to invite you for a live Q&A that will take place on this journal on Monday, April 8th at 3PM (GMT+2)!


